The E.C. Carr Astronomical Observatory (CAO) of the Royal Astronomical Society of Canada (RASC), Toronto is celebrating its 20th Anniversary this year. As a part of the celebrations, a rocket-making […]
The E.C. Carr Astronomical Observatory (CAO) of the Royal Astronomical Society of Canada (RASC), Toronto is celebrating its 20th Anniversary this year. As a part of the celebrations, a rocket-making workshop was organised at the Observatory on 23-24 June 2018 by Tony Horvatin, one of the RASC volunteers. We have known Tony for several years. Among other things, he organises the model rocket launches during the annual Open House and Awards Picnic at the CAO.
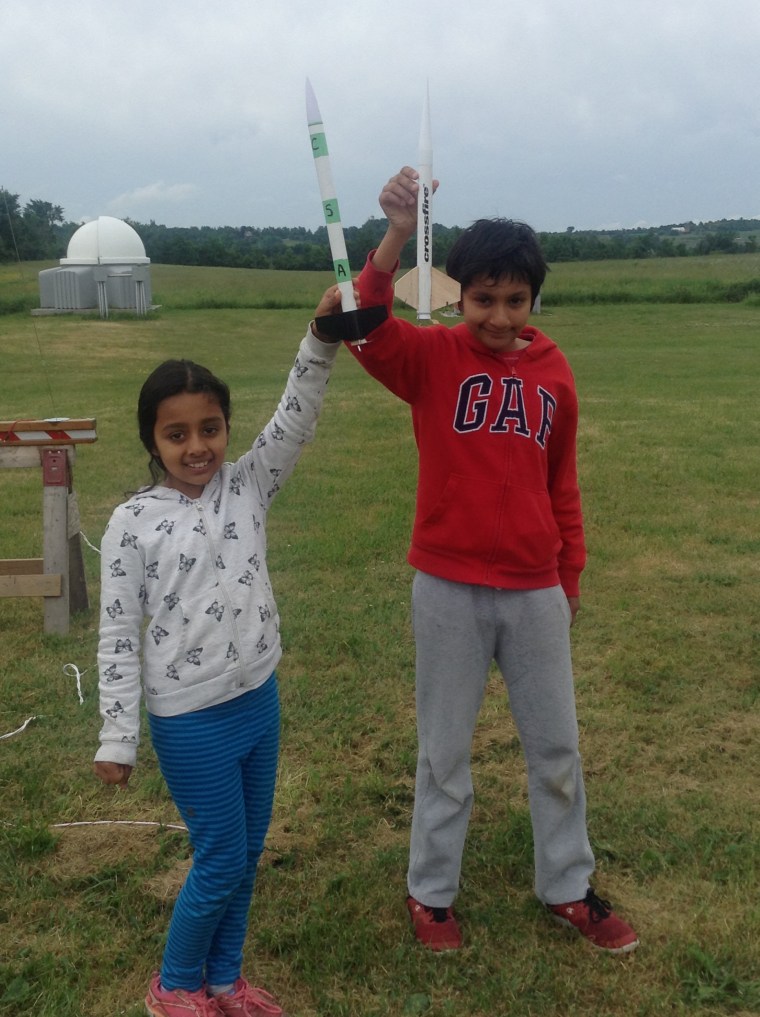
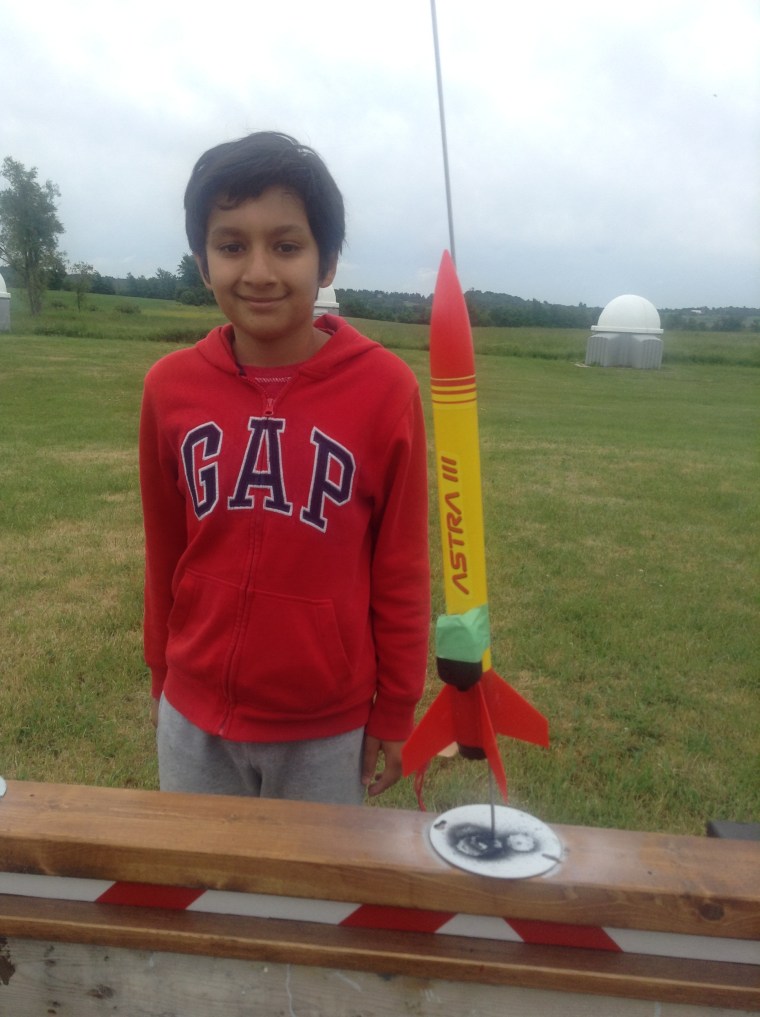
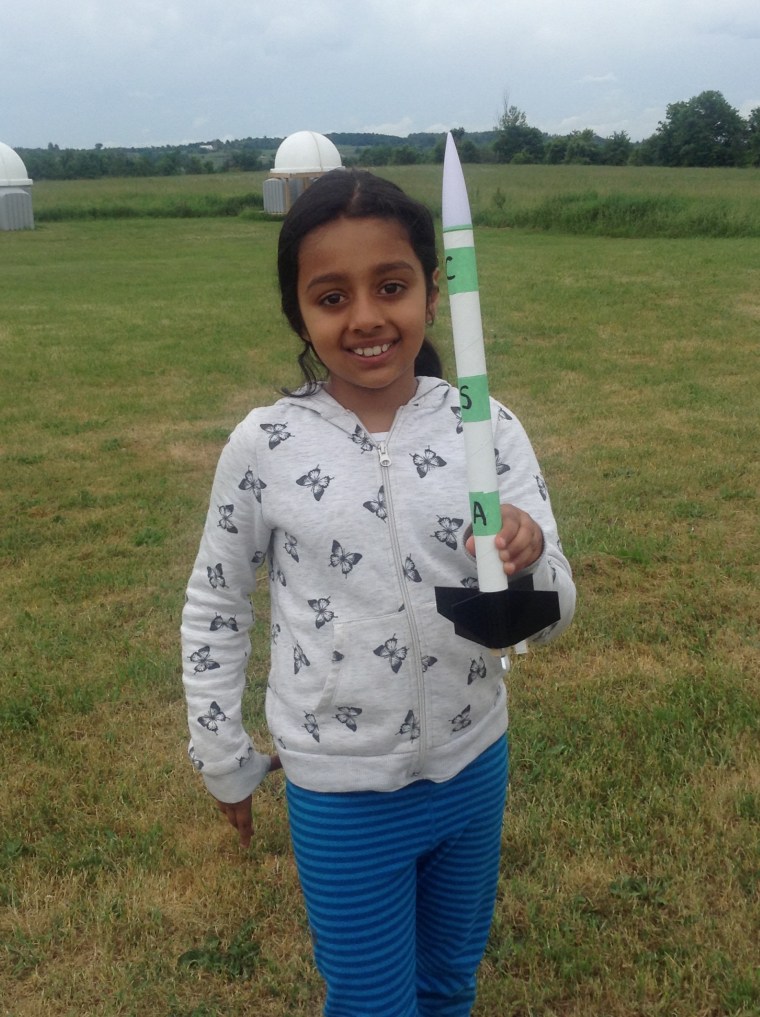
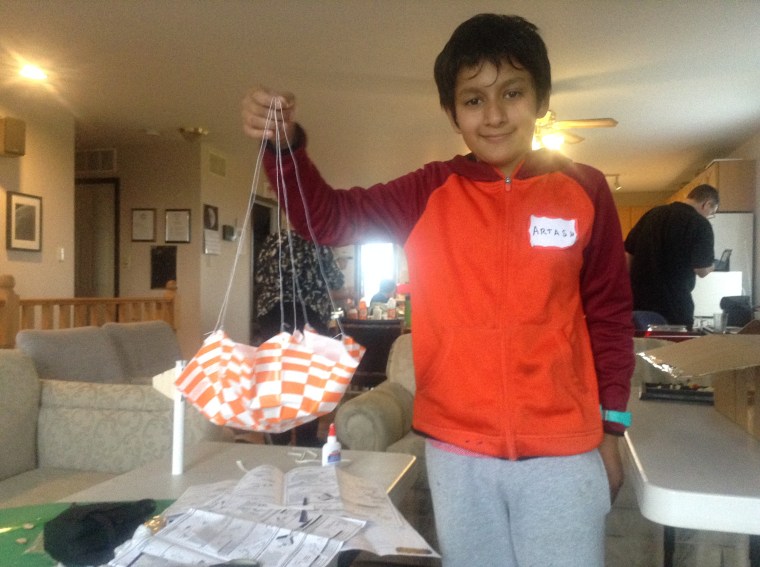
Artash and Arushi with the rockets they built
We were excited about this workshop as we love space, rockets, and robotics – and here was our chance to build and fly our own rockets! To build rockets powerful enough to reach Moon and beyond, we need to learn how to get rockets to lift off the Earth.
The workshop moved ahead with a fast pace. We first checked if we had all the necessary parts for building the rockets. It included the body, motor mounts, fins, nose cone, parachutes, and the motors (basically solid fuel for combustion) for propelling the rockets.
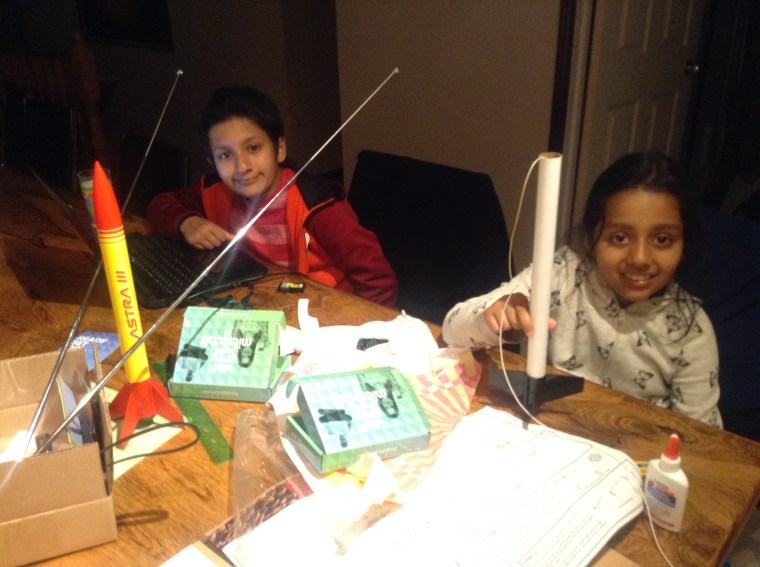
Rocket making in progress, including setting up radio transmission
We started with attaching the motor mounts to the rocket body. Motor mounts are tubes where we would later attach the motors to launch the rockets. It was followed by attaching the fins. Fins are required in small rockets to provide stability and ensure that they do not spin during their flight. Bigger rockets such as those launched by NASA and private space companies do not have fins as stability is provided by gimbaling the motors using computer algorithms. The onboard computers control the direction of the nozzle of the rocket engines to ensure they stay on their flight path.
It is important to align the fins well so that they are symmetrical with respect to the body of the rocket. This was probably the hardest part of rocket building as we had to get the angles correct and the fins made from balsa wood were difficult to glue. Once the fins were firmly attached, we proceeded to attach the nose cones using the shock cords. Shock cords absorb the impact of separation of nose cone with the rest of the body at the highest point of the flight. Nose cones also gave our creation the cool rocket shape.
Building rockets is a very intensive activity as it involves measurement, alignments and attention to small details such as how to tie knots and which cords to use. Some of the cords are elastic while others are fire resistant.
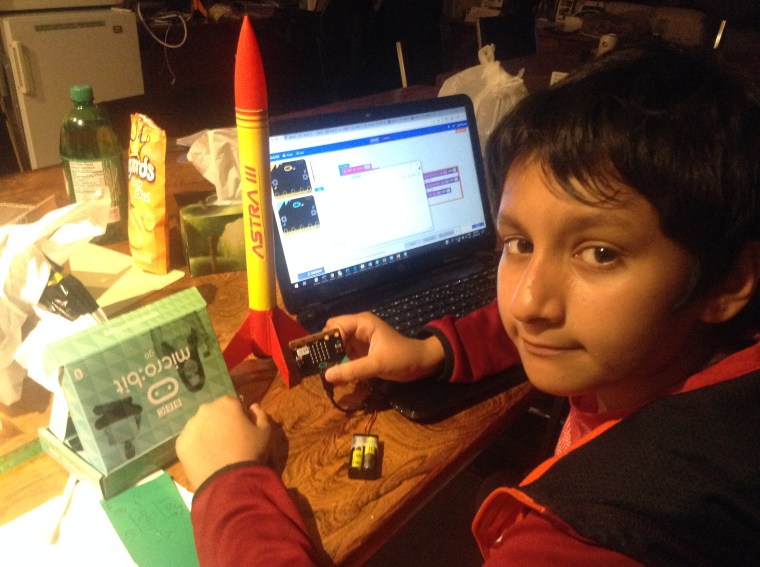
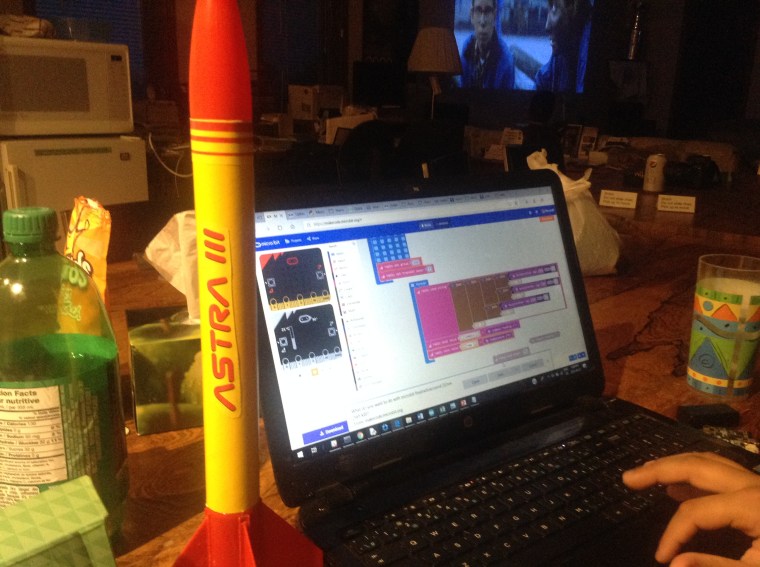
Progamming the Micro:Bit to get telemetry data from the Rockets
We took a small break from the building process for snacks followed by a presentation by Tony about the Model Rocket Safety Code of the National Association of Rocketry, The Rocket Safety Code lays out the do’s and the don’ts of launching rockets. The list of don’ts was more interesting. For example, I will not launch rockets into the clouds, I will not launch live animals in my rocket, and my rocket will not weigh more than 1.5 kgs at lift-off. Our favourite one was – I will only launch the rockets outdoors!
Arushi getting ready to put the nose cone on her Rocket
The rocket making group was a very friendly bunch and we asked and assisted each other a lot. The best part of rocket making was attaching the parachute to the nose cone. Parachutes are needed so that the rockets do not freefall once they have reached their highest point (apogee). As per the Rocket Safety Code, the model rocket must use a recovery system so that it returns safely to the ground. And the recovery system should be prepared with due care to assure that it will deploy properly. This also ensures that our rockets can be recovered safely without damage and can be flown again.
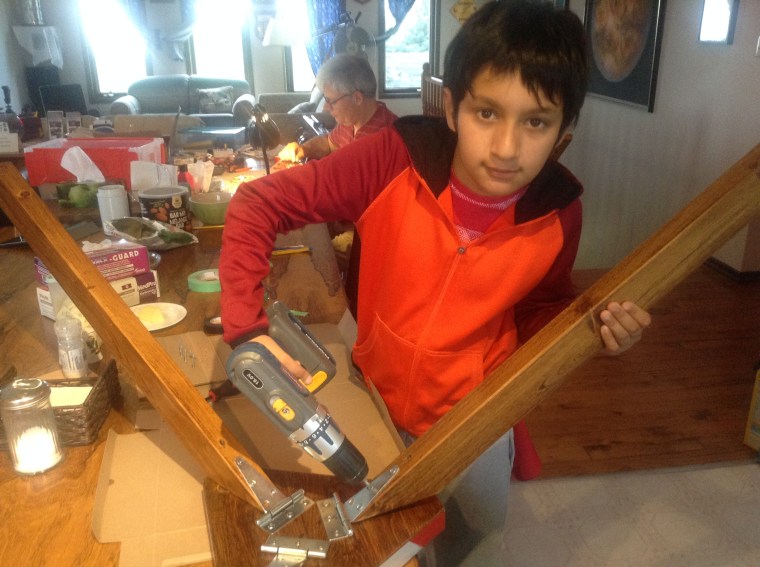
Tony setting up the new launch pads
Folding parachutes is a crucial but fun activity. We learned that parachutes must be folded in a way that there are no hard creases and the cords will not entangle with each other. Furthermore, wadding paper must be inserted before parachutes are folded into the tube. This ensures the parachute does not burn when the motor sends up a burst of exhaust to pop up the nose cone and release the parachute. We learned an important tip – always fold the parachute just before the launch and not the previous day. This reduces the chances of entanglement and improper deployment.
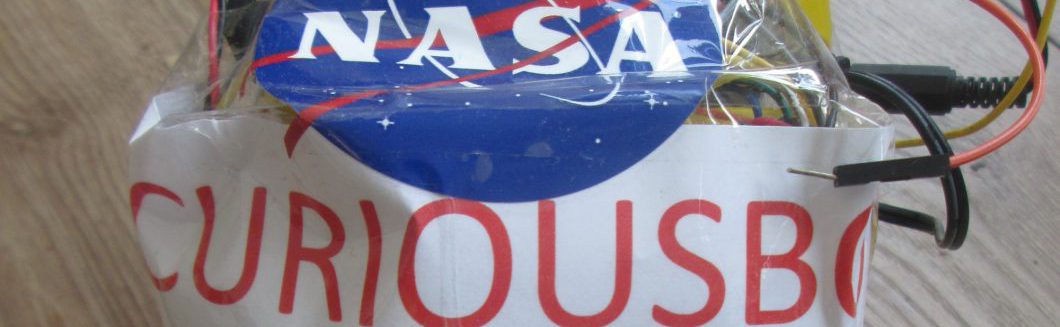
Our Rocket ready with an onboard camera
By the end of the evening, our rockets were almost complete, and we were looking forward to launching them the next day.
But our task was not yet finished. We wanted to get more out of our rockets. We had got a keychain camera, an altimeter and some Micro:Bit microprocessors with us. We wanted our rockets to collect video and data such as acceleration, velocity and maximum height achieved during its flight path. We spent several hours in the evening to programme our sensors and microprocessors.
Arushi with her C.S.A labelled Rocket
Then we tested the communication systems to transfer data from rockets to our base station, including using Bluetooth, mobile signals, and the radio. In the end we found the radio frequency of 2.4 GHz most suitable for our use as it gave good range for line of sight communication and Micro:Bit offered communication over this frequency. We worked hard that night and, in the end, we had all our systems working.
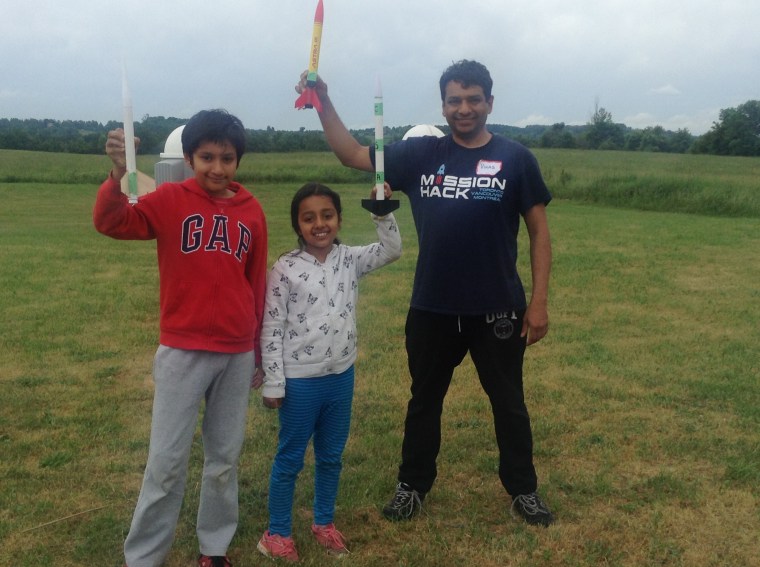
Rockets ready to fly
The next day, we woke up early to prepare our rockets for launch and attach cameras and sensors on our rockets. We folded the parachutes and inserted them into the body of the rockets after putting the wadding paper. Tony distributed the motors to power our rockets. We learnt about different motor types used in model rocketry. We could use from “A” to “F” type motors. The “A” motors were the least powerful while “F”, were the most powerful. There are license requirements and age restrictions for higher powered motors starting from “G”. For this beginner’s workshop we mostly used motor types “A” and “B”.
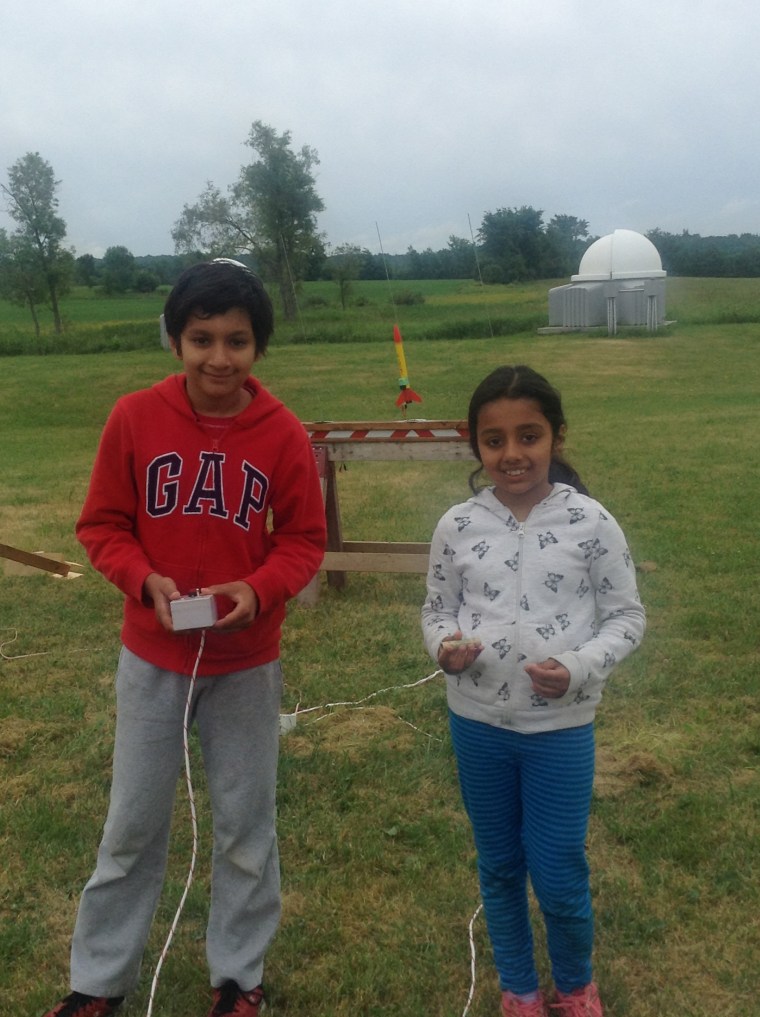
The most exciting part had come – time to launch the rockets and see how good rocket builders we were. We all went outdoors. There was a new launch pad which could launch 3 rockets at a time. Tony briefed us about safety instructions and how to attach igniters to the rocket motors. As per the Model Rocket Safety Code, a remote electrical system must be used to ignite the model rocket motors. The firing system includes an ignition switch that returns to “off” when released, and a safety interlock key to prevent accidental ignition. We were all drilled to not leave the safety interlock key in the firing system between launches.
Checking the rocket ignition system
We all placed our motors into the rockets and inserted the igniters. Igniters provide the spark to burn the solid combustion fuel which in turn provides thrust to the rockets. The pins on the igniters are connected to the firing system which is powered using 12 volts. When the firing system is switched “on” the igniter catches fire, lights the motor, and launches the rocket.
We checked the wind direction and aligned the launch pad so that the rockets would fly into the wind. This would minimize the drift of the rockets and make it easier to retrieve them.
We placed our rockets on the launch pad and took turns to launch them. Before each launch we had to make sure that everyone was standing clear of the rocket. Only then we inserted the ignition key, did a countdown starting from 5, and held down the red button sending 12 volts to the igniter that launched the rocket.
The launch was very successful. Except for one rocket, all the rockets launched in their first attempt and had their parachutes deployed. All the rockets were successfully retrieved and relaunched. We were thrilled as our rockets made under the guidance of Tony worked so successfully. Some of the rockets, especially those using higher powered “B” and “C” engines went up very high. It was an amazing sight to see three rockets launching at the same time one after the other on the new launch pad.
Burnt marks left after the rocket launch
Due to shortage of time we could not fly our rockets embedded with Micro:Bit. However, we flew our rockets fitted with a key chain camera and an altimeter. We got some spectacular video of the entire flight path and some telemetry data (including rocket flight time, acceleration, peak velocity and apogee) from our rockets which is available on our website http://www.HotPopRobot.com
After an hour and half of flying rockets, the workshop was over. We packed our rockets, cleaned up the launch area and then it was time to go. A big thanks to Tony and Grace for organising this workshop. We learnt a lot and this practical workshop instilled confidence in us that we could build and launch rockets from Canadian soil.
Our rockets were firmly on the ground, but our spirits and ambitions were soaring high. And we promised ourselves that we would be back again with bigger rockets, more sensors, and more powerful motors!
2026 Third Place, Student Oral Competition, NASA Exploration Science Forum, USA. 2025 Third Grand Award, International Science and Engineering Fair, USA. NASA Group Achievement Award 2025 (DART mission team). 2024 Youth Can Innovate Award ($7,000) and Silver Medal, Canada-Wide Science Fair. Gloria Barron Prize for Young Heroes 2024. Eureka Changemakers Fellow 2025. 2023 Second Prize Winner – European Union Contest for Young Scientists (EUCYS). Best of the Fair Award, Gold Medal, Top of the Category, Youth Can Innovate, and Excellence in Astronomy Awards at Canada Wide Science Fair 2023 and 2022. RISE 100 Global Winner, Silver Medal, International Science and Engineering Fair 2022, Gold Medal, Canada Wide Science Fair 2021, NASA SpaceApps Global 2020, Gold Medalist – IRIC North American Science Fair 2020, BMT Global Home STEM Challenge 2020. Micro:bit Challenge North America Runners Up 2020. NASA SpaceApps Toronto 2019, 2018, 2017, 2014. Imagining the Skies Award 2019. Jesse Ketchum Astronomy Award 2018. Hon. Mention at 2019 NASA Planetary Defense Conference. Emerald Code Grand Prize 2018. Canadian Space Apps 2017.
Follow Us on Twitter
Do it Yourself Asteroid Astrometry using Python for Asteroid Apophis
The Masked Scales; 2020 NASA SpaceApps COVID-19 Challenge Global Winners!
Deep Space Musical: NASA SpaceApps 2018 Toronto Winner
LIGO Quadruple Pendulum: Swinging to Stability, Royal Astronomical Society of Canada 2019
TVO Kids (2018): TRAPPIST-1 Sound and Light Model
Lecture on TRAPPIST-1 at Carr Astronomical Observatory (CAO) Open House
Yes I Can / Oui Je Peux: NASA – Canadian SpaceApps Toronto 2017 Winner
Drop the Drought : NASA Space Apps Toronto 2017 Winner